 Save
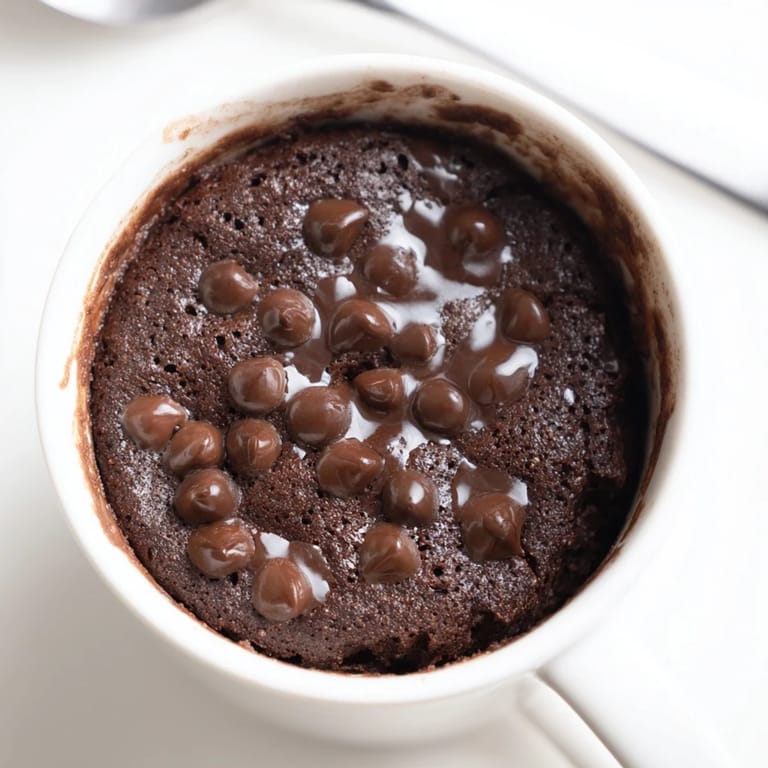
Save I was hunched over my laptop at 11 p.m., stomach growling, when I remembered reading about mug brownies somewhere online. No mixer, no oven, no cleanup—just a mug and a microwave. It sounded too easy to be real, but desperation makes you brave. Three minutes later, I was scraping warm chocolate from the sides of a mug, shocked that something so simple could taste so good. That little discovery became my late-night ritual.
The first time I made this for my roommate, she wandered into the kitchen following the smell and accused me of hiding a secret stash of bakery treats. When I showed her the mug and the microwave still humming, she didn't believe me until I made another one right in front of her. Now she texts me brownie emojis whenever she's had a rough day, and I know exactly what she means.
Ingredients
- All-purpose flour: This gives the brownie just enough structure to hold together without turning cakey—measure it lightly and don't pack the spoon or it'll get dense.
- Granulated sugar: White sugar keeps the texture smooth and fudgy, while brown sugar would make it chewier and more cookie-like, so stick with granulated unless you're feeling experimental.
- Unsweetened cocoa powder: The backbone of all that chocolate flavor—use the good stuff if you have it, because cheap cocoa tastes flat and dusty.
- Salt: Just a pinch wakes up the chocolate and keeps the sweetness from feeling one-dimensional.
- Vegetable oil or melted butter: Oil makes it ultra-moist and foolproof, while butter adds a richer, slightly nutty flavor—I switch depending on my mood.
- Milk: Any kind works, even oat or almond milk, and it brings everything together into a smooth, pourable batter.
- Vanilla extract: A few drops add warmth and depth that make the whole thing taste homemade instead of microwaved.
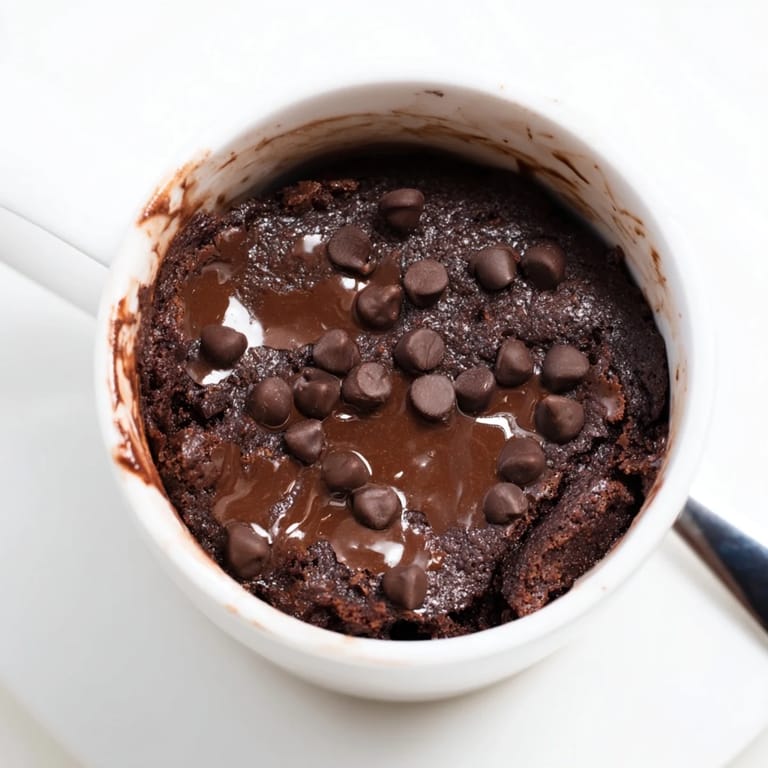
- Chocolate chips (optional): They create molten pockets of chocolate that ooze out when you dig in, which is basically the point of life.
- Chopped nuts (optional): I love the crunch of walnuts or pecans against all that softness, but skip them if you're a purist.
Tired of Takeout? 🥡
Get 10 meals you can make faster than delivery arrives. Seriously.
One email. No spam. Unsubscribe anytime.
Instructions
- Combine the Dry Ingredients:
- Grab a big microwave-safe mug (12 ounces or larger, trust me on this) and toss in the flour, sugar, cocoa powder, and salt. Use a fork to mix everything until it looks evenly chocolatey with no pale streaks hiding in the corners.
- Add the Wet Ingredients:
- Pour in the oil, milk, and vanilla, then stir gently until you have a smooth, glossy batter. Make sure to scrape the bottom and sides so no dry pockets are lurking—those turn into weird chalky bites.
- Fold in the Fun Stuff:
- If you're using chocolate chips or nuts, stir them in now, but don't overdo it. A light fold keeps the batter tender.
- Microwave Until Just Set:
- Pop the mug in the microwave and cook on high for 50 to 70 seconds, watching through the window as it puffs up like a little volcano. The top should look barely set and still a bit glossy—if it looks dry, you've gone too far.
- Cool and Devour:
- Let it sit for about a minute so you don't burn your tongue (I've learned this the hard way). Then grab a spoon and dig in straight from the mug while it's still warm and fudgy.
 Save
Save One rainy Sunday, I made two of these and carried them to the couch where my partner and I were supposed to be watching a movie. We ended up ignoring the screen entirely, talking about nothing important, scraping our spoons against ceramic. It's funny how a three-minute dessert can stretch a quiet afternoon into something you remember.
How to Know When It's Done
The brownie is ready when the edges look set and the center is just barely firm to the touch, with a slight jiggle underneath. It'll keep cooking a bit from residual heat, so pulling it out when it looks almost done is the secret to that gooey middle. If the top is puffed and dry, you've crossed into cake territory, which isn't bad, just different.
Ways to Make It Your Own
I've stirred in everything from peanut butter to instant espresso powder, and it's hard to go wrong. A spoonful of Nutella swirled on top before microwaving creates a marbled effect that tastes like a fancy cafe dessert. Sometimes I'll add a pinch of cinnamon or a tiny splash of almond extract, and suddenly it feels like a completely new recipe.
Serving Suggestions and Storage
This is best eaten warm and fresh, straight from the mug with a spoon in one hand and maybe a glass of cold milk in the other. If you somehow have leftonings (I never do), it'll keep in the fridge for a day, but it loses that just-made magic and turns a bit dense. You can reheat it for 10 seconds, but honestly, it's so fast to make a new one that I'd just start over.
- Top with a scoop of vanilla ice cream and watch it melt into the warm chocolate.
- Drizzle with salted caramel or hot fudge if you're feeling indulgent.
- Dust with powdered sugar or a few flaky sea salt crystals for a grown-up finish.
 Save
Save Some recipes you make for a crowd, and some you make just for yourself on a Tuesday night when you need something sweet and easy. This one is the latter, and there's no shame in that.
Recipe FAQs
- → Can I use dairy-free milk alternatives?
Yes, oat or almond milk can be used to keep it dairy-free without compromising texture.
- → How do I achieve the fudgiest texture?
Careful not to overcook the batter in the microwave and avoid overmixing for the best fudgy consistency.
- → Can I include mix-ins like nuts or chocolate chips?
Absolutely, folding in chocolate chips or chopped nuts adds extra flavor and crunch.
- → Is the cooking time consistent for all microwaves?
Cooking times vary; start with 50 seconds and adjust to ensure the top is set but still moist inside.
- → What mug size is recommended?
Use a microwave-safe mug of at least 12 oz capacity to prevent overflow during cooking.