 Save
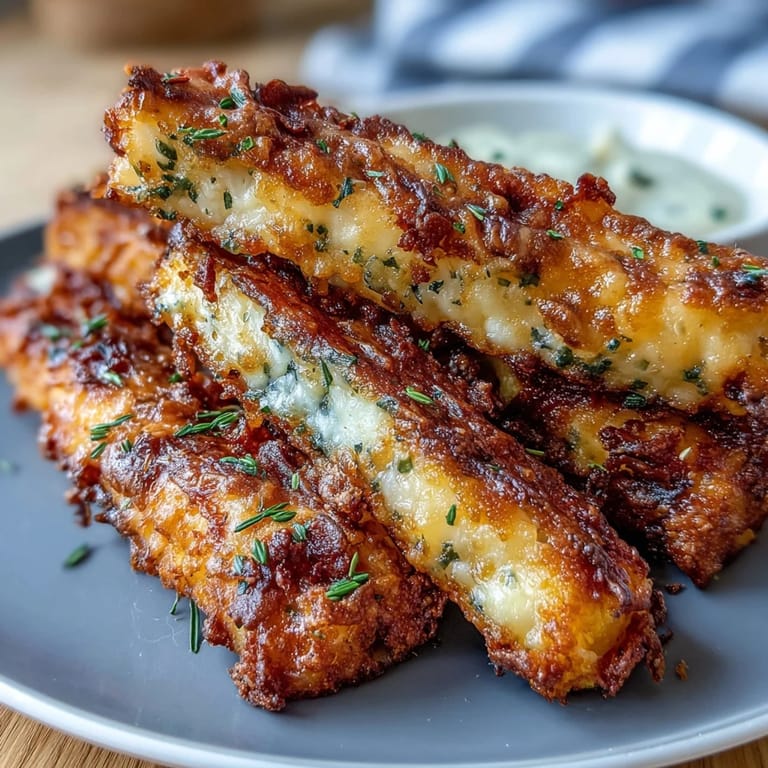
Save There's something about Derby Day that makes you want to have your hands full of something crispy and golden while you're watching the race. My neighbor brought these cheese straws to a backyard gathering a few springs ago, and I watched them disappear faster than the horses crossed the finish line. The butter and Parmesan hit you first, then that little whisper of cayenne sneaks in at the end—it's the kind of snack that doesn't announce itself loudly but absolutely wins you over by the third bite.
I made these for the first time when my sister called asking what to bring to a family gathering, and I realized I had all the ingredients scattered across my kitchen already. I'd never twisted pastry before, but halfway through I started shaping them like little spirals just to see if it would work. They baked up looking so impressive that people actually asked if I'd bought them from a bakery, which felt like a small victory in the kitchen.
Ingredients
- Sharp cheddar cheese: Use freshly grated cheese rather than pre-shredded—the anti-caking agents in packaged cheese prevent proper binding, and you'll end up with crumbly dough instead of something cohesive.
- Parmesan cheese: The finely grated variety gives you better texture control; microplane it yourself if you have time, and don't skip this because it's what adds that salty, nutty backbone.
- Unsalted butter: Keep it cold and cubed straight from the fridge, and work quickly so the butter stays cold and creates those beautiful flaky layers.
- All-purpose flour: Nothing fancy needed here, but measure by weight if you can because it changes everything about the dough's hydration.
- Cayenne pepper: Start with half a teaspoon unless you like real heat—I learned this lesson the hard way when someone's teenage cousin nearly choked on the spiced version.
- Fine sea salt and black pepper: These season the dough itself, so don't skip them thinking the cheese will do all the work.
- Cold water: Only use this if your dough truly won't come together; it's a last resort because too much moisture changes the texture entirely.
Tired of Takeout? 🥡
Get 10 meals you can make faster than delivery arrives. Seriously.
One email. No spam. Unsubscribe anytime.
Instructions
- Set your oven and prep:
- Preheat to 375°F and line your baking sheet with parchment paper so nothing sticks and cleanup is effortless. This step takes two minutes but saves you from burnt bottoms and frustration.
- Build the dry mixture:
- Combine the cheddar, Parmesan, flour, cayenne, salt, and pepper in your food processor and pulse a few times until everything is evenly distributed. You want the cheese particles to be integrated throughout the flour, which takes just 4 or 5 pulses.
- Work in the cold butter:
- Add the cold butter cubes and pulse until the mixture looks like coarse breadcrumbs with some pea-sized butter pieces still visible. This is the secret to flakiness, so don't overthink it or blend it into a paste.
- Check your dough:
- Pinch a bit of the mixture between your fingers—if it holds together with gentle pressure, you're done; if it's too crumbly, add cold water one tablespoon at a time. This is where patience matters because one tablespoon too much ruins everything.
- Shape the dough:
- Turn everything onto a lightly floured surface and roll into a rectangle about ¼ inch thick, using a ruler or your eyes to gauge consistency. Work confidently but don't stress over perfection because slightly uneven straws still taste perfect.
- Cut into straws:
- Cut strips about ½ inch wide and 6 inches long using a sharp knife or pastry cutter, and if you want them twisted, give each strip a gentle spiral twist before placing on the baking sheet. The twists look elegant and cook evenly because of their shape.
- Space and bake:
- Arrange the straws on your prepared baking sheet with a little space between each one, then bake for 12 to 15 minutes until they're golden brown and crisp. The edges will get darker than the centers, which is exactly what you want.
- Cool properly:
- Let them sit on the hot baking sheet for 5 minutes to firm up, then transfer to a wire rack to cool completely so they stay crispy underneath. If you eat them straight from the sheet, they're still warm and wonderful but won't have that final snap.
 Save
Save There was a moment during that first Derby Day when I was standing in my kitchen watching the oven timer count down, and my son wandered in and asked what that smell was. He tasted one fresh from the rack and said it was like eating a cloud made of cheese, which is the description I've stolen ever since when people ask me about them. Food doesn't always need a story—sometimes it just needs to taste good and make people happy.
Storage and Make Ahead
These straws keep beautifully for three to four days in an airtight container, and they won't get soggy or stale like some delicate pastries. If you want to prepare ahead, you can actually roll and cut the dough, freeze the unbaked straws on a baking sheet, and then bake them straight from frozen—just add a minute or two to the baking time. I've found that baking a day in advance works perfectly for parties because you eliminate last-minute oven stress.
Flavor Variations That Work
Once you understand the base formula, you can play around with what goes into it without worrying too much about breaking anything. I've added smoked paprika, a pinch of garlic powder, and even fresh herbs like thyme with great results. The key is that the cheese-to-fat-to-flour ratio stays the same, so you're really just swapping seasonings and knowing that your foundation is solid.
Serving Ideas and Final Thoughts
Serve these alongside a mint julep or iced tea during Derby season, or pair them with cocktails at any gathering when you want to feel slightly more refined than your usual snack spread. They're also wonderful on a cheese board nestled between some proper cheeses and fresh fruit, creating a nice textural contrast that keeps people reaching back for more.
- Make them a day ahead and store in an airtight container so you're completely relaxed when guests arrive.
- If they lose their crispness after a day, pop them in a 300°F oven for 3 minutes to restore their snap.
- Double the batch and freeze half unbaked because they freeze beautifully and bake straight from frozen with just 1 or 2 extra minutes in the oven.
 Save
Save These cheese straws have become my go-to when I need something that looks impressive but requires zero fancy techniques or stress. They're the kind of recipe that sits in your brain and calls to you during party season, reminding you that sometimes the best food is the simplest stuff made with real ingredients and a little care.
Recipe FAQs
- → What cheeses are used in these cheese straws?
Sharp cheddar and finely grated Parmesan provide a rich, savory flavor and a satisfying texture.
- → How do I achieve a crispy texture?
Cold butter is pulsed into the dry ingredients to create flaky dough, then baked until golden to ensure crispness.
- → Can the level of spiciness be adjusted?
Yes, the amount of cayenne pepper can be increased or decreased to suit your preferred heat level.
- → Is it necessary to add cold water to the dough?
Only add cold water if the dough feels too dry to come together; otherwise, it’s not required.
- → Can these be prepared ahead of time?
Yes, the dough can be made in advance and stored in the refrigerator before cutting and baking.