 Save
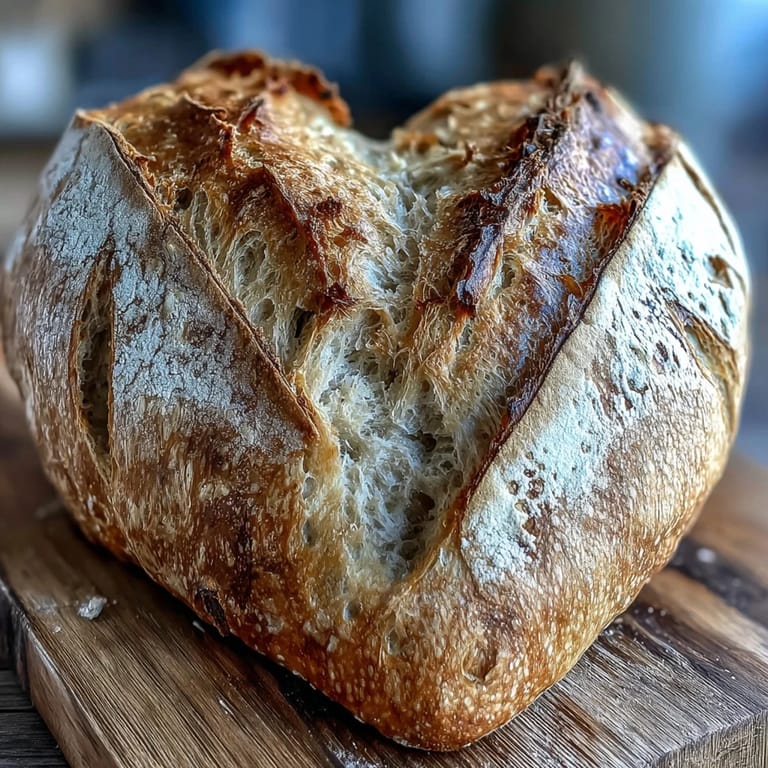
Save There's something magical about shaping dough into hearts instead of the usual round boule—it transforms a regular loaf into a conversation starter. My friend texted me a photo of her Valentine's sourdough at 6 AM, asking how she'd managed to keep the heart shape intact through the rise, and I realized I'd never written down the technique that makes it actually work. This recipe came from countless batches where I learned that cold proofing is your secret weapon, and that a gentle hand during shaping preserves the definition you worked for.
I brought these to a potluck last February and watched someone's face light up when they realized the bread was homemade and shaped like a heart. They broke it open right there, steam rising, and the airy crumb inside completely silenced the room for a moment—that's the power of sourdough done right. It wasn't about impressing anyone; it was about handing someone a small, edible reminder that they mattered.
Ingredients
- Active sourdough starter: Use one that's been fed 4-8 hours before and is visibly bubbly; a sleepy starter will drag out your rise time and flatten your results.
- Bread flour: The protein content gives you structure for those crisp ears and open crumb you're after; all-purpose will work in a pinch but bread flour genuinely makes a difference.
- Whole wheat flour: This adds nuttiness and slight color variation; it's not just filler, it shapes the flavor story.
- Water: Room temperature water lets the starter work without fighting temperature resistance; cold water will slow everything down.
- Fine sea salt: It dissolves faster than kosher and won't create hard pockets in your dough if you're not perfectly careful.
- Rice flour: This doesn't gelatinize like wheat flour, so it stays visible on your crust for that Instagram-worthy finish and won't blur your scoring patterns.
- Optional edible flowers or seeds: Add these after baking for visual drama; they wilt or burn if baked on directly.
Tired of Takeout? 🥡
Get 10 meals you can make faster than delivery arrives. Seriously.
One email. No spam. Unsubscribe anytime.
Instructions
- Mix and rest your dough:
- Combine your fed starter, flours, and water in a bowl and let them sit untouched for 30–45 minutes. This autolyse period lets the flour fully hydrate and actually makes the next steps easier because the gluten is already starting to organize itself.
- Incorporate the salt:
- Add salt and mix thoroughly until there are no dry pockets left. You'll notice the dough tightens slightly—this is salt doing its job of strengthening the gluten network.
- Build strength with stretch-and-folds:
- Do 3–4 sets of stretches and folds spaced 30 minutes apart, covering with a damp towel between each set. You're essentially giving yourself a mini hand-knead without the hard work; the dough gets stronger and smoother with each fold.
- Let it rise until doubled:
- Shape into a ball and place it in a lightly oiled bowl, then let it sit at room temperature for 4–6 hours. You're watching for roughly double the size, not triple; sourdough doesn't like to overproof before the cold rest.
- Shape into hearts:
- Turn dough onto a floured surface, divide in half, and flatten each piece slightly. Create the point at the bottom by pinching, then gently indent the center-top to suggest the heart's dip—think of it as sculpting, not forcing.
- Cold proof overnight:
- Place each heart into a floured proofing basket or bowl lined with a floured towel, cover, and refrigerate for 8–12 hours. The cold slows fermentation and lets the dough relax and firm up, which keeps your shape crisp.
- Preheat and prepare:
- Score with intention:
- Remove dough from the fridge, turn it onto parchment, dust generously with rice flour, and score decorative patterns with a sharp blade. Let your hand move slowly and confidently; hesitation creates rough scores, while commitment creates clean, dramatic lines.
- Bake with steam then dry:
- Transfer to a hot Dutch oven or baking stone and bake covered for 20 minutes to trap steam, which helps the crust puff. Uncover and bake for 15 minutes more until the crust is deep golden and crisp to the touch.
- Cool completely:
- Let the loaves rest on a wire rack until they're room temperature before cutting or decorating. This final rest is when the crumb fully sets and develops its structure; cutting too early releases steam and creates a gummy interior.
 Save
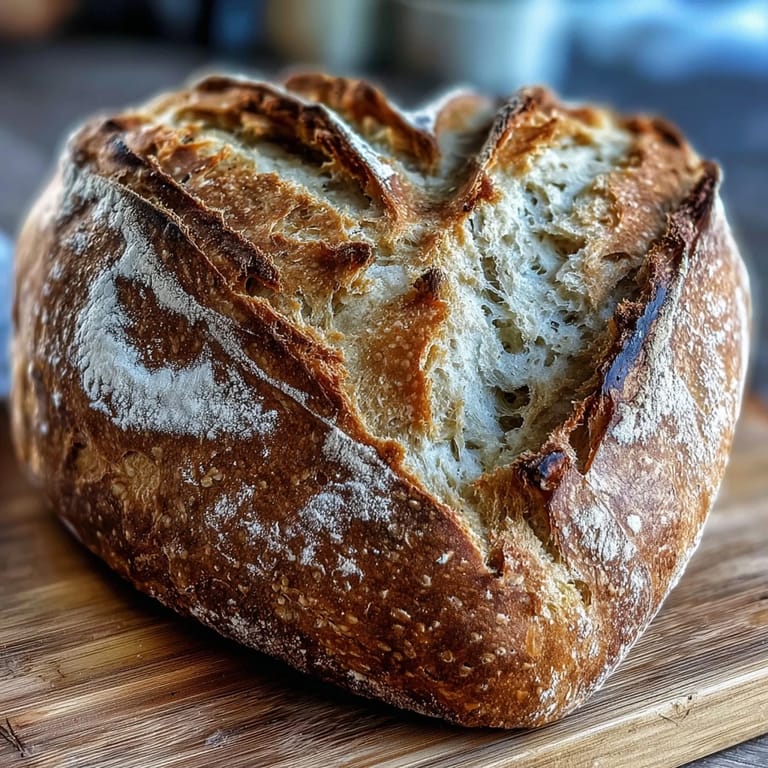
Save I've given these hearts to people dealing with breakups, celebrations, quiet anniversaries, and just-because Tuesdays. There's something about bread shaped with intention that communicates care better than words sometimes.
The Power of Cold Proofing
When I first started making sourdough, I thought faster was better—give it a warm spot and watch it boom. But cold proofing changed everything, especially for shaped loaves like these hearts. The overnight refrigeration actually develops more complex flavor because the fermentation continues slowly, and the cold dough holds its shape better during scoring and the first few minutes in the oven when spring happens fastest. Your loaf will have better oven spring, a crispier crust, and a more open crumb because the gluten has relaxed and the yeast hasn't exhausted itself.
Decorating Beyond the Basics
The rice flour dusting is just the foundation for your art. Once the bread cools, you can brush a tiny bit of water on the surface and press edible flowers, seeds, or even delicate herbs into it for a personalized finish. I've used dried pansies, rose petals, sesame seeds, and even crushed pistachios—each one tells a different story. The key is waiting until the loaf is completely cool so the crust doesn't soften from the moisture, and being gentle so you don't crack the crust you worked so hard to build.
Making It Your Own
Sourdough is forgiving enough to adapt to your kitchen and style. If you want color, knead beetroot powder into half the dough for a subtle pink swirl, or use spirulina for a green tint. You can also brush the cooled loaf with a light egg wash before decorating for extra shine. The timing might shift slightly depending on your starter's strength and your kitchen temperature, so trust what you see (dough volume) more than the clock.
- Start your preparation the morning before you want to bake; this gives you flexibility and reduces stress.
- If your kitchen runs cold, place the dough in an unheated oven with the light on, or use a proofing box set to 75°F (24°C) for the initial rise.
- Write down the time you shape your loaves so you remember exactly how long cold proofing took; this data becomes your personal recipe tuning guide.
 Save
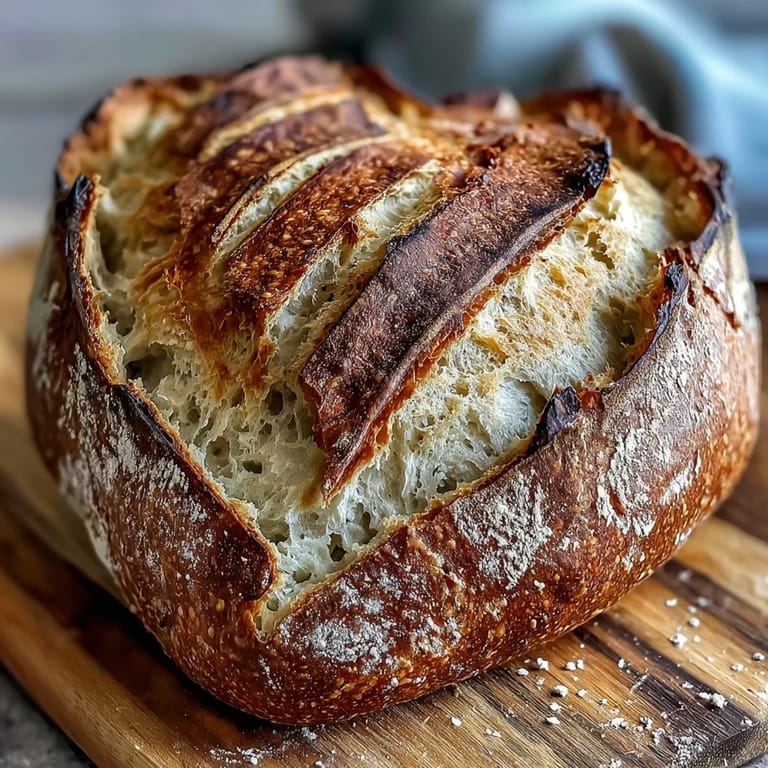
Save These heart-shaped loaves remind me that bread is never just sustenance; it's a small, edible act of care. Bake them, share them, and watch what happens when people bite into something that took your time and attention.
Recipe FAQs
- → How do I shape the dough into hearts?
After dividing the dough, flatten each piece slightly, pinch the base to form a pointed end, and indent the top center to create a heart shape.
- → What is the purpose of cold proofing overnight?
Cold proofing slows fermentation, enhancing flavor and improving dough strength for a better crumb and crust.
- → How can I create artistic flour patterns?
Dust the dough lightly with rice flour, then score heart shapes with a sharp blade before baking to reveal contrast and texture.
- → Can I add color to the dough?
Knead in beetroot powder into half the dough before shaping to achieve a pink swirl effect within the loaves.
- → What baking method produces the best crust?
Baking covered in a preheated Dutch oven traps steam for a crisp, golden crust, then finishing uncovered develops a deep color and texture.
- → Are there any serving suggestions?
Serve with flavored butters or jams to complement the sourdough’s natural tang and enhance the overall experience.