 Save
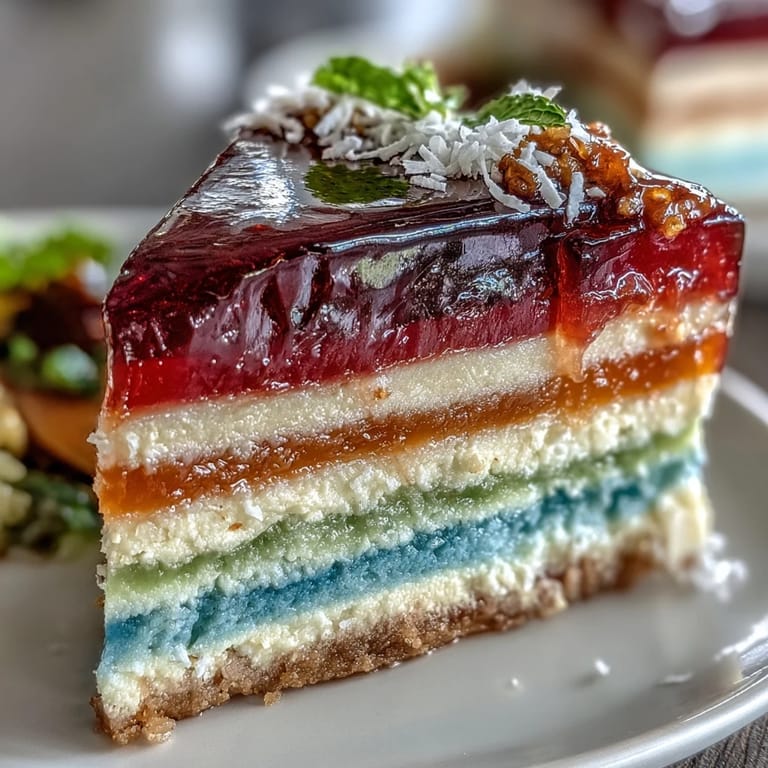
Save There's something undeniably cheerful about a brightly colored dessert that instantly brightens the room. The first time I laid eyes on a layered agar-agar rainbow jelly cake at a friend's gathering, it was like a piece of art on the table. The gleaming layers shimmered under the lights, and I couldn’t help but wonder how something so vibrant could taste even better. After much coaxing, my friend revealed her secret recipe, and I knew I had to give it a try myself. Now, this dish is my go-to for celebratory moments, turning any day into a festive occasion.
One summer evening, I set out to recreate that magical jelly cake for a picnic in the park. As I melted away in the warmth of the sun, I could hear children giggling nearby, their tiny fingers pointing at the rainbow colors peeking from my cooler. When I finally unveiled my creation, their wide eyes and squeals of delight made every minute spent layering those colors completely worth it. Sharing a slice under the vast sky, laughter became as essential as the sweet coconut cream draped over the jelly.
Ingredients
- 2 liters water: This forms the base of the jelly, ensuring a light texture when set.
- 16 g agar-agar powder: This seaweed-based gelling agent is the magic that holds our beautiful layers together.
- 400 g granulated sugar: Sweetens and balances the flavors, making each bite a delightful experience.
- 1/2 teaspoon vanilla extract: Adds a warm undertone that complements the fruity flavors beautifully.
- Gel food coloring: These intense colors are essential for that stunning rainbow effect.
- 1/2 cup fruit juice per color: Optional, but it enriches the flavor profile and makes each layer pop.
- 400 ml coconut milk: The creamy layer provides richness, and it’s a vegan delight.
- 4 g agar-agar powder: This makes the coconut cream layer set perfectly.
- 40 g granulated sugar: Sweetens the coconut layer to create a blissful contrast.
- Pinch of salt: Just a touch enhances the overall flavors.
Tired of Takeout? 🥡
Get 10 meals you can make faster than delivery arrives. Seriously.
One email. No spam. Unsubscribe anytime.
Instructions
- Prepare the Jelly Base:
- In a large saucepan, mix 2 liters of water with 16 g of agar-agar powder. Bring it to a boil over medium heat while stirring to dissolve the agar completely.
- Divide and Color Jelly:
- Portion the agar-agar solution into six bowls, keeping them warm. Add a few drops of food coloring to each for that radiant rainbow finish and, if desired, 1/2 cup of fruit juice for flavor.
- Assemble Layers:
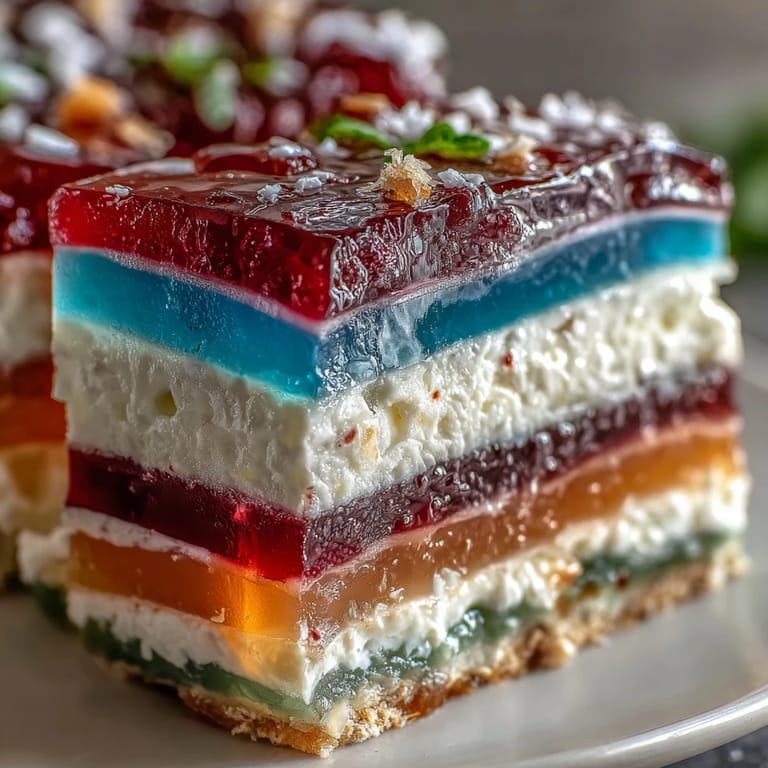
- Pour the first colored layer into a rectangular cake pan and refrigerate until just set. Continue with each color, chilling between layers for extra definition.
- Prepare the Coconut Cream:
- In another saucepan, mix 400 ml coconut milk, 4 g agar-agar, 40 g sugar, and a pinch of salt. Bring to a boil, stirring, and simmer until the agar dissolves.
- Top with Coconut Cream:
- Cool the coconut cream slightly before gently pouring it over the set jelly layers. Let it chill completely in the fridge for at least 2 hours until fully set.
- Serve:
- To serve, run a thin knife around the edges of the pan before inverting onto a plate. Slice the cake and enjoy it chilled, preferably outdoors!
 Save
Save Each time someone takes a slice of this jelly cake, the smiles that follow remind me that food is more than just sustenance; it’s an experience. The joy written on their faces as they discover the layers is the true reward of creating this delightful dish.
Making It Your Own
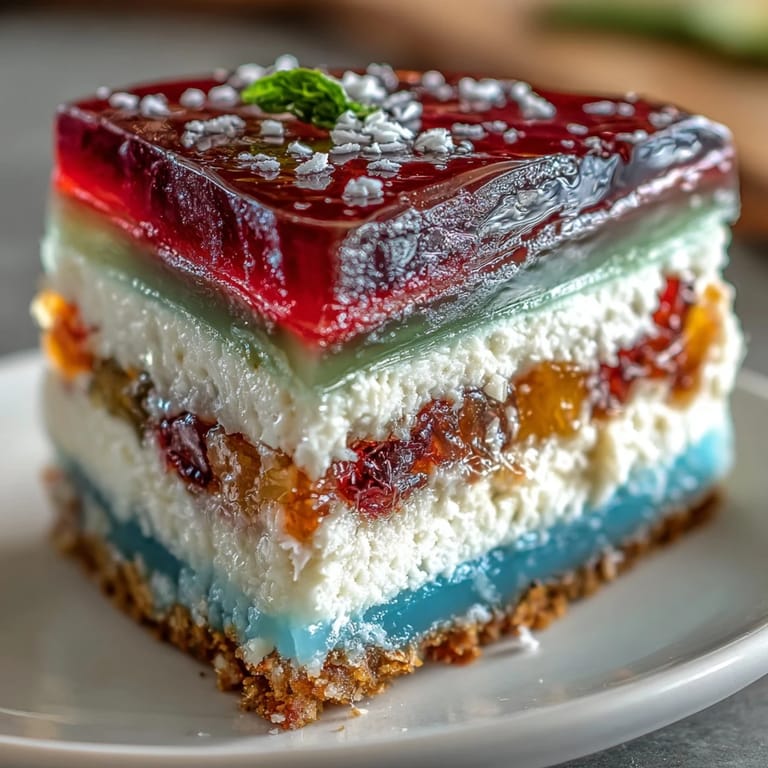
Experimenting with different fruit juices opens up a whole new world of flavors; tropical or berry juices make fantastic choices. You can also play with presentation by adding diced fruits between the layers for added texture and sweetness!
Enjoying the Process
Sometimes the kitchen can be a playground for accidents and unexpected discoveries, like the time I accidentally mixed two colors and created a stunning lavender jelly. This dish encourages playful creativity and improvisation, so embrace whatever unfolds!
- Always have your ingredients prepped and measured for a smooth process.
- Using silicone molds can create beautiful individual servings.
- Remember that the cooling time is just as important as the mixing; don’t skip it!
 Save
Save Cooking this dish isn’t just about the end product; it’s about the joy of creating something beautiful and delicious. May your kitchen adventures be filled with colorful discoveries!
Recipe FAQs
- → What is agar-agar?
Agar-agar is a vegetarian gelatin substitute made from seaweed. It’s often used in desserts and jellies for its gelling properties.
- → Can I use other types of milk instead of coconut milk?
Yes, you can substitute other plant-based milks, but be sure to adjust the sweetness to your preference.
- → How long does the cake take to set?
The jelly layers need about 10–12 minutes to set between pours, and the final cake should chill for at least 2 hours before serving.
- → Can I add fruit to the layers?
Absolutely! Diced fruit can add texture and additional flavor to the jelly layers for an extra delightful experience.
- → What tools are needed to make this cake?
You will need a large saucepan, mixing bowls, measuring cups and spoons, a rectangular cake pan or silicone mold, a whisk, and a thin spatula or knife.
- → Is this dessert gluten-free?
Yes, this jelly cake is naturally gluten-free, making it suitable for those with gluten sensitivities.